Saturday, June 16, 2012

Sour Cherry Crumb Cake - How to Pit Sour Cherries

Through a local Philadelphia farm, I have been receiving fresh produce twice a month (I'm sharing with a work colleague)! I thought it would be a great thing to do- not only does it make me go somewhere else to pick up the food, but I'm supporting local farms and eating organic and fresh produce. I also thought that this would help introduce Steve and I to other veggies we wouldn't normally pick up at the grocery store. Two weeks ago, we received beets: I've never liked beets, but after I thought about it, I guess I never really gave them a try. Well, I oven roasted the beets, cooled them, and tossed them in a salad with beet greens, oranges and basalmic. The salad was nice, but I really did not care for the beets. At least I tried and this reaffirmed that I can always pass on the beets at dinner parties.

Last week, we received sour cherries in our produce share. I was excited because cherries are my favorite fruit and they are super expensive this season so paying out of pocket was out of the question. I guess I overlooked the name of the fruit.. SOUR cherries. Not good for simply eating. So, to the internet of recipes I started to look. I came across a Martha Stewart recipe for a Sour Cherry Crumb Cake and I stuck with it. Like I always say, her recipes come out perfectly and are always something I would bake again.


Then I realized that the cherries have pits- how do I pit cherries? or can I leave the pits in and work around that when I eat the dessert? I googled how to pit a cherry- most said to use a pitter, or some sort of small metal hook to get them out. Using what I have in the house, I got the hang of pitting a cherry after the second or third try. Here's how I did it:


Tools: toothpicks, two bowls

1. Have two bowls ready: one for your pitted cherries, and one to save the pits (I found another simple recipe to recycle the pits).


2. Take the stem off the cherry


3. Inset tooth pick where you removed the stem- feel the toothpick hit the pit and move the toothpick around the sides of the pit like you're setting it free for the rest of the cherry.


4. Gently squeeze the cherry and the pit should pop out! I did this over the sink and put my bowl in the sink to catch the pits which I was saving for later. If the pit doesn't pop out, use the toothpick to sort of pry it out.


5. Make sure you have a lot of time saved to pit your cherries- I had enough time while pitting to listen to a whole record, make a soy latte, and take a few breaks.


Ways I adjusted or changed the recipe:
1. The recipe requires a 9"x9" cake pan, but I had to use a 9"x13" because that's all I have! But not for long - woohoo wedding registries!
2. There is no baking time for this recipe: just bake until golden and a tester comes out clean. I don't work well with those sorts of recipes because I will either a. check the cake too much thus the temperature of the oven is never consistant or b. forget about the cake and wander to a different project until I run into the kitchen screaming when the cake is almost in flames. To avoid either of these, I set an initial time for 30 minutes, and then kept adding time after that as I saw necessary. The cake ended up baking for 50 minutes. This time might change for you if you use a 9"x9" pan, or a darker colored pan.


Here are the layers of the cake, pre-assembly: a floured cake dish, the cake dough, pitted sour cherries, and the crumble topping.


and of course, a photo of the first slice! The only time I will eat dessert before dinner :)

It turned out really well! The cherries are still tart, but not mouth puckering. The super sweet crumble is a great juxtaposition and fits well with the moist cake. Mmmm, seconds please!


***Note: Sour cherries have a short season - only a bit of June and a bit of July. So if you can find them, pick them up and try a new recipe with them! Or make preserves to have in the wintertime!***

Friday, June 15, 2012

In the making of my Etsy store

Like I said in my last post, I finally have a spot to permanently set up and photograph my Etsy items. Before, I'd have to set up the living room for when I set aside time to photograph items, but now I have I spot where I can keep everything organized and I don't have to set specific times to photograph!

Etsy photo area to the left, craft area to the right


And, I'm just too excited about my craft area and guest bedroom... It's really a beautiful room and fun place to spend my late afternoons.

Craft area and guest bedroom! Lots of green, aqua and mint.

Tuesday, June 12, 2012

Just a lovely photo

I took this photo at Morgan's Pier in Philadelphia on June 9th 2012 just before sunset. Just thought this was a lovely photo and I'd share :)

Monday, June 11, 2012

New findings!

I haven't been vintage shopping in a while - because of lack of time, lack of money, but mostly because I still have a ton of scarves I've been meaning to post in my shop!

Here's some new items (I'm in love with) I'm selling in my Etsy store, alessandra's vintage.

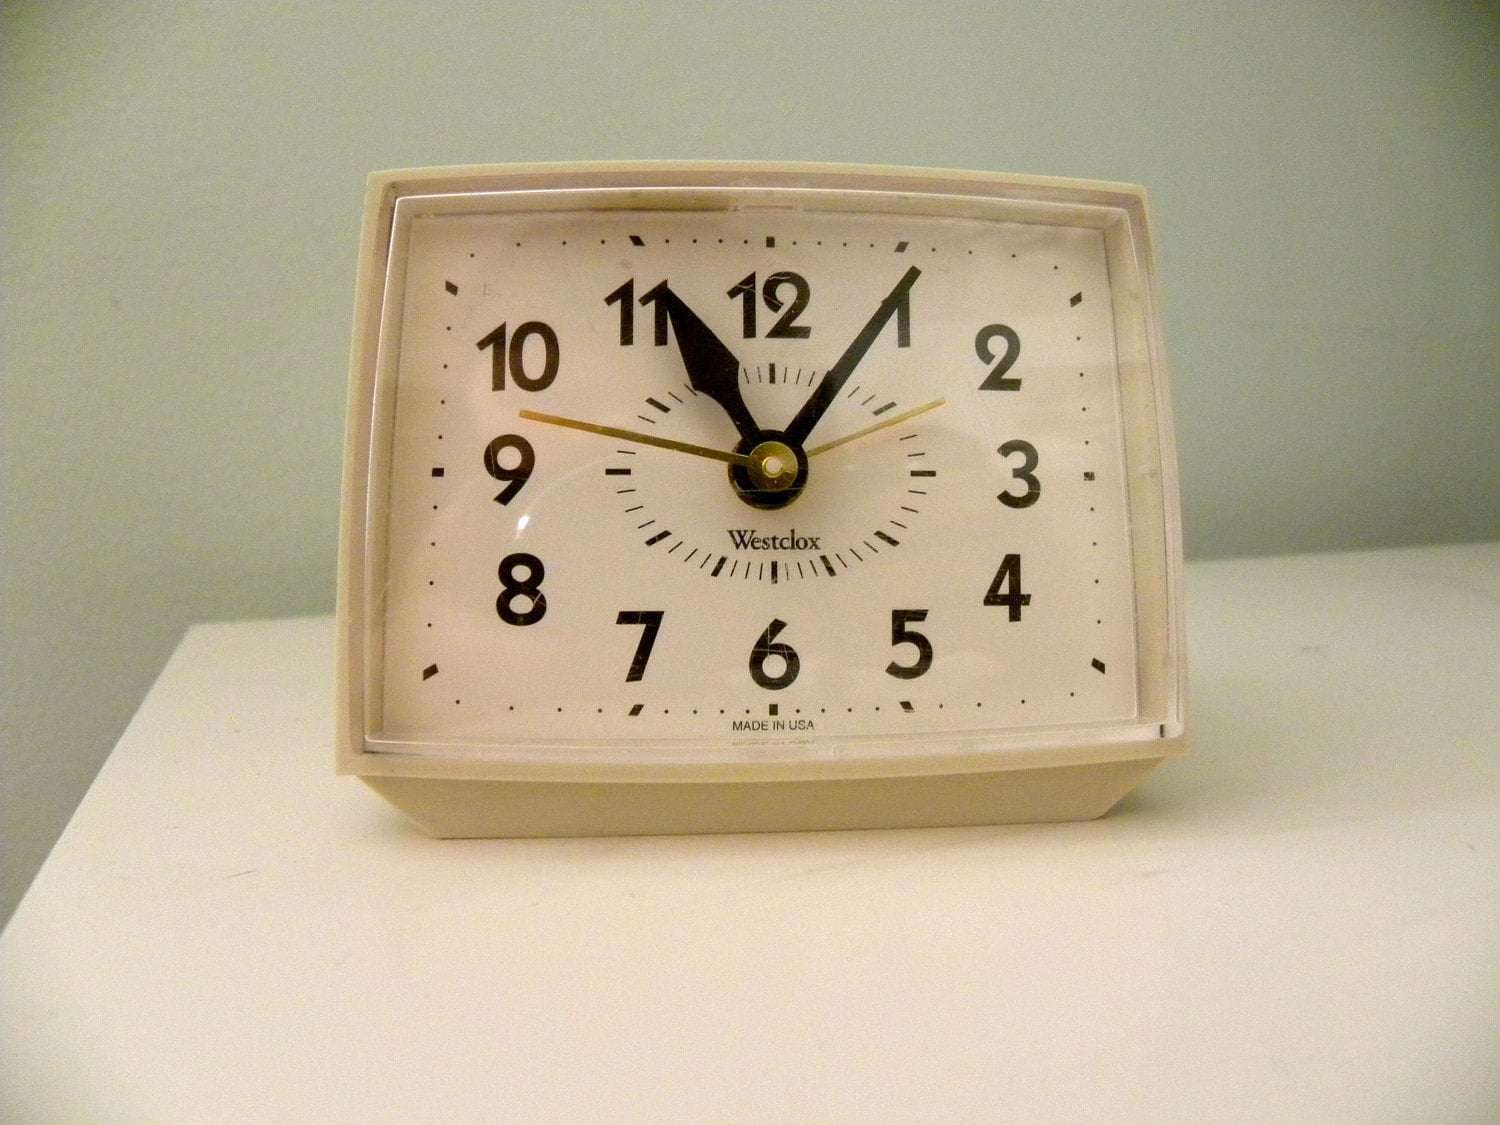
A retro off white bed side clock... Smooth second hand!
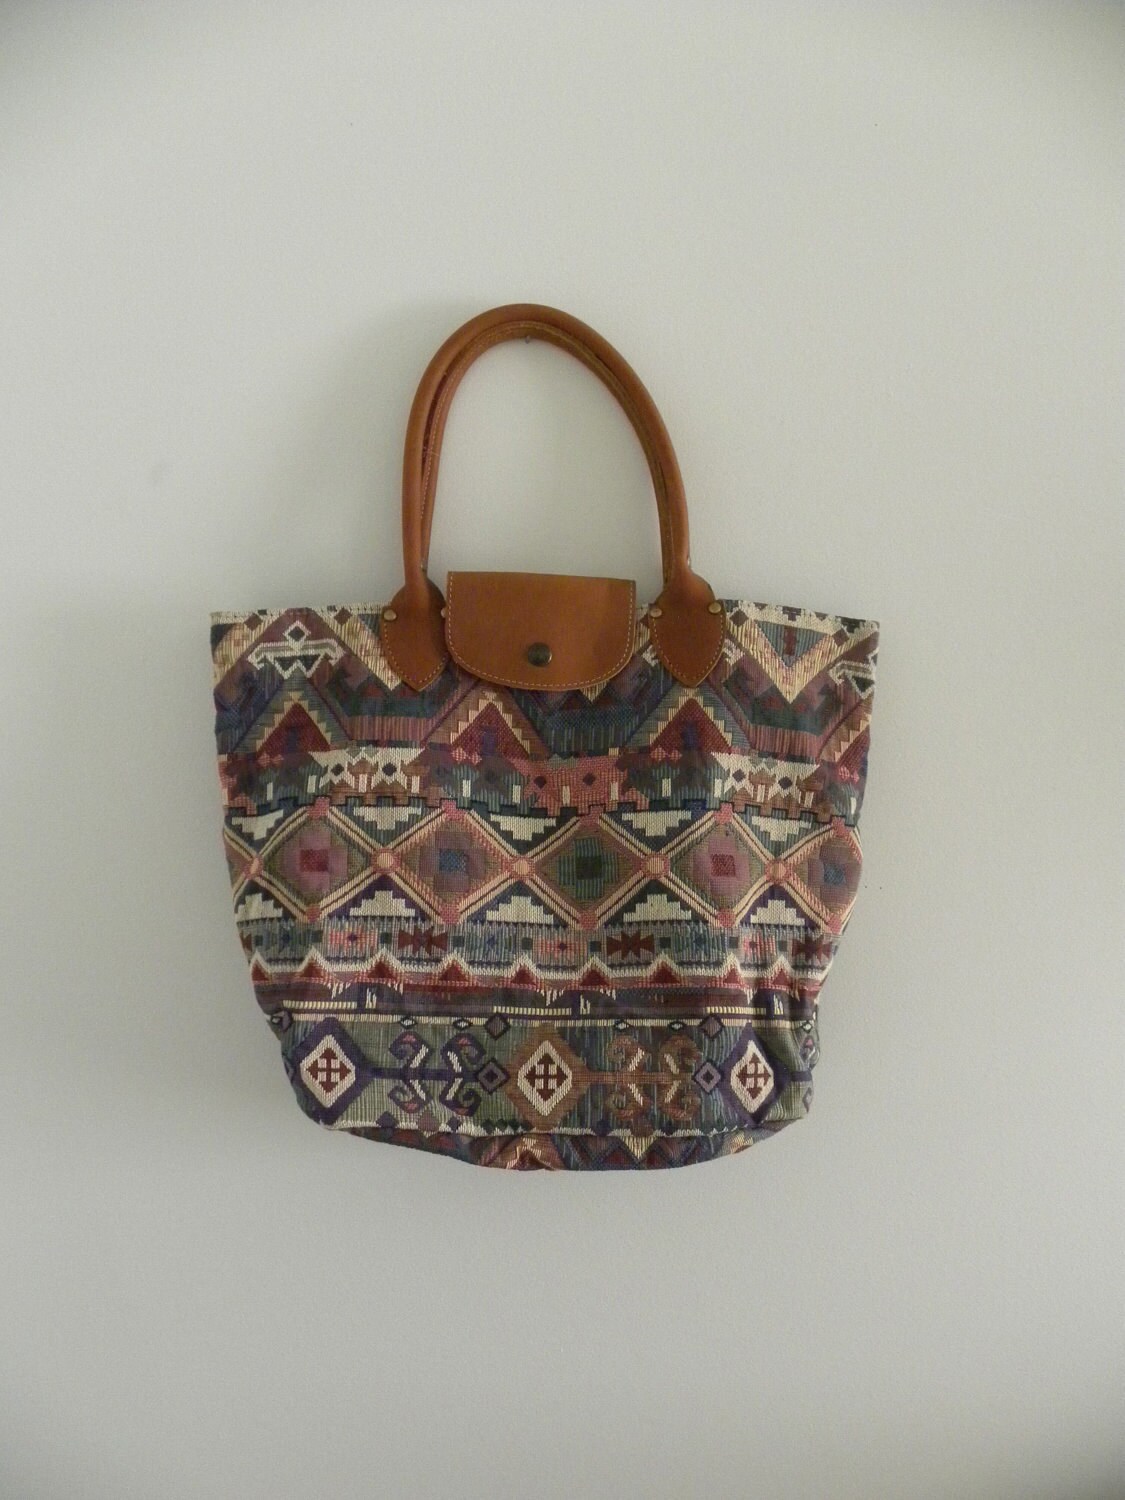
A vintage tapestry travel tote with leather handles... Brand new and super chic!

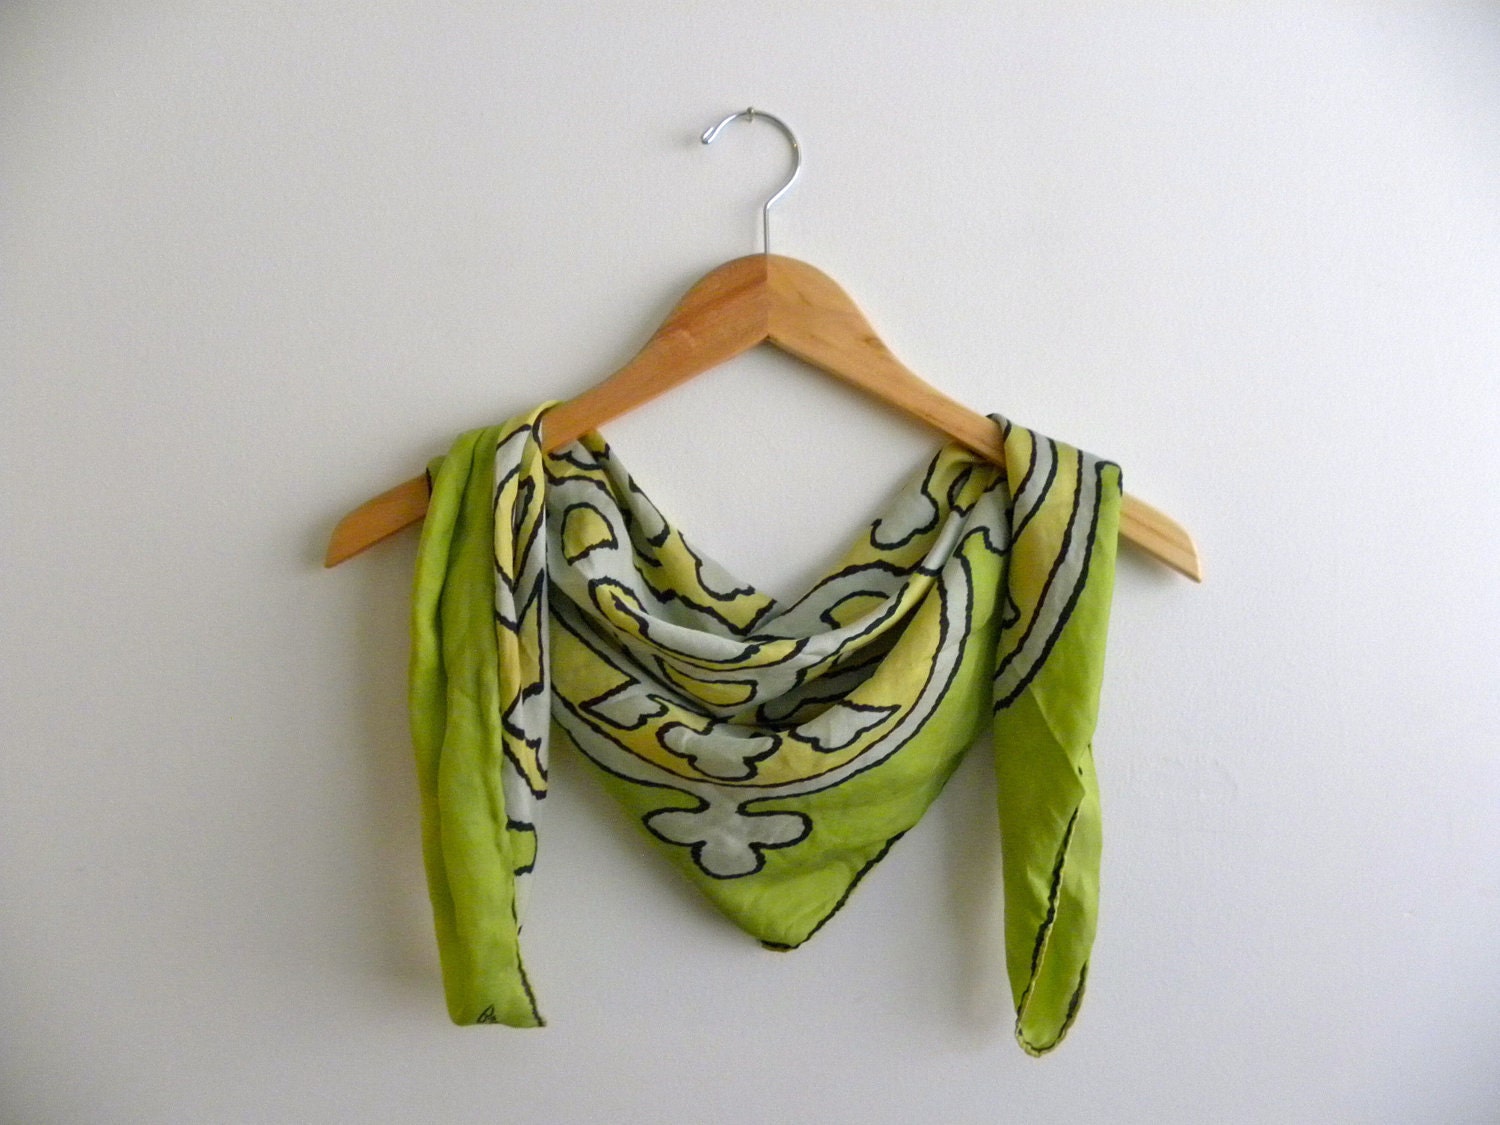
A vintage Vera striped silk scarf... beach hat not included, but they look too cute together!


There was another item I picked up with intentions of selling, but then I tried it on and decided it would be in my best interest if I kept the dress (which I'm currently wearing!). It's a handmade knee length tank top dress with a high cut square neck. Best of all is the fabric- an early 90's daisy floral grunge print. I feel like I should be attending a Nirvana concert in this dress! Sure, no one else seems to be wearing styles from the 90's right now, but I feel that trend coming back... just need my lacy white socks and lace up Docs!
The dress print - black, white, tan, light yellow and a hint of mint!
There are lots of grunge floral dresses on Etsy if you're in the market! I found this one to be similar, just longer than my dress:
90's Grunge Black Floral Maxi Dress by Ultramarine Vintage... A fellow Philadelphian!

Friday, June 8, 2012

Craft room!

Our roommate moved out last weekend. Which means I now have a craft space back! No more cramping in the living room, making a mess and getting mad at myself that I hate to clean it up. The craft space doubles (or quadruples) as a guest bedroom, extra closet space for me, and music room. Most importantly, my craft space! I also have a new area to take Etsy store photos and store my goods for sale (I'll add photos later).

I haven't felt this inspired in a while... I want to run home and paint with my watercolors and listen to my records!

Also, I better get typing on those wedding invites. 4 months and 6 days!
 
I love my new paper lantern.
Close up of my desk.. I leveled and screwed in those shelves my myself. Do you know how hard that was? My arms are super sore today!


Friday, May 25, 2012

New scarves... Summer Colors!

I'm so happy to post these vintage scarves I recently listed for sale in my Etsy shop  I have so much more to list, but I thought it was necessary to get the bright summer colors for sale first - I wish I could keep them all :)


This scarf by Burmel is amazing: super soft silk, and an amazing pattern in lemon and lime colors. Talk about neon colors for the summer! I can see a chic New York girl tying this around her head with a bow, but I could also see someone wearing this an an accessory to the Miami beaches. Oh, summertime!


This is a fantastic vintage silk scarf by Adrienne Vittadini. It has bright, bold summer colors: hot pink, newon orange, bright yellow, and a muted purple (to even out the bright colors!). It's also very soft and airy, working well as a small beach skirt since it's large enough (34" x 34"!).


Lastly, it's not summer without nautical prints. This vintage scarf by Leonardi features colors of cerulean blue (my favorite crayon color!) with teal and navy nautical knots. Now don't ask me how to tie a nautical knot, but everyone knows how to tie a fashionable scarf around their neck in summertime!

Tuesday, May 15, 2012

Card Making!

I've neglected making cards for a while now. I have spurts of creativity and the drive to make them, which is usually once every 6 months. Maybe I've also been a bit busier with so much wedding planning and all the different creative DIY projects I started for the wedding.

It's that time of year though... May: a million birthdays, a thousand graduations, many people moving, and... my birthday in two days!

Last night, I made a card for my friend who just finished grad school, and a card for a colleague who is moving back to Michigan for med school.

I also made a card for my friend/colleague who just finished her masters program. For the cards, I honestly pick fabric and/or card stock, cut out shapes as I think of them, sew when I think it's necessary to sew, and add embroidery floss as I see fit. I always thought it would be easier to plan out a card and be picky and thoughtful when it comes to fabrics and papers, but planning the design makes me upset - I feel like I have to stick to my original plan and I get angry when it doesn't turn out like my 2D drawing. Instead, I pick a pretty fabric and I start cutting. Oh, it works so much better and keeps me motivated!


I also broke out my Singer sewing machine since my mom had it cleaned and tuned up (like a year ago!). I have been using the sport machine, but for some reason, the bobbins run out really quick and I never remember how to put thread back on the bobbin.  That's why the older machines are for me: you can do a limited number of things with them (but the most important things).. sew forward, sew backwards, thread a bobbin. I don't need much else.